Exposure settings for a galloping dog, respectful horse photography at trot and canter, and a post-shoot workflow for sorting, archiving and printing.
Which exposure settings capture a galloping dog?
A galloping dog needs a shutter speed of at least 1/1000 s, an aperture around f/4, and Auto ISO with a ceiling you have tested. For a horse at trot or canter, stay on a long lens at a distance the animal chooses, and let the gait come to you. After the shoot, sort in one pass, archive with the RAW files kept intact, and print only what survives a second look.
Start in shutter priority or manual with Auto ISO. A dog at full gallop crosses the frame faster than most people expect, so 1/1000 s is the floor and 1/1250 s to 1/1600 s is safer for a large breed closing on you. Open the aperture to f/4 or f/2.8 if the lens allows it, because a wide aperture both admits light and separates the dog from the background. Keep the ISO ceiling at a value you have already tested on your own camera, often 6400 on a recent body, so the camera does not quietly push past it in shade.
Drive mode matters as much as the shutter. Use the fastest continuous setting the body offers, and set the autofocus to continuous with animal eye detection if the camera has it. On a dog running straight toward you, single-point focus on the chest or head holds better than a wide zone that grabs the background. Pre-focus on a spot the dog will cross, then let the burst run through it.
Light decides the rest. Early morning and late afternoon give a low sun that rakes across the coat and shows muscle. Midday sun flattens the shape and puts hard shadows under the legs. If you shoot indoors at an agility trial, flash is usually banned for safety and for the dog's concentration, so raise the ISO and accept a little noise rather than risk a startled animal.
For a broader look at how animal photography is taught as a craft with documented exposure values, the German editorial site animal photography craft sets out its own approach to dogs in motion, horses at distance and the work that follows the shoot.
How do you photograph a horse at trot and canter from a respectful distance?
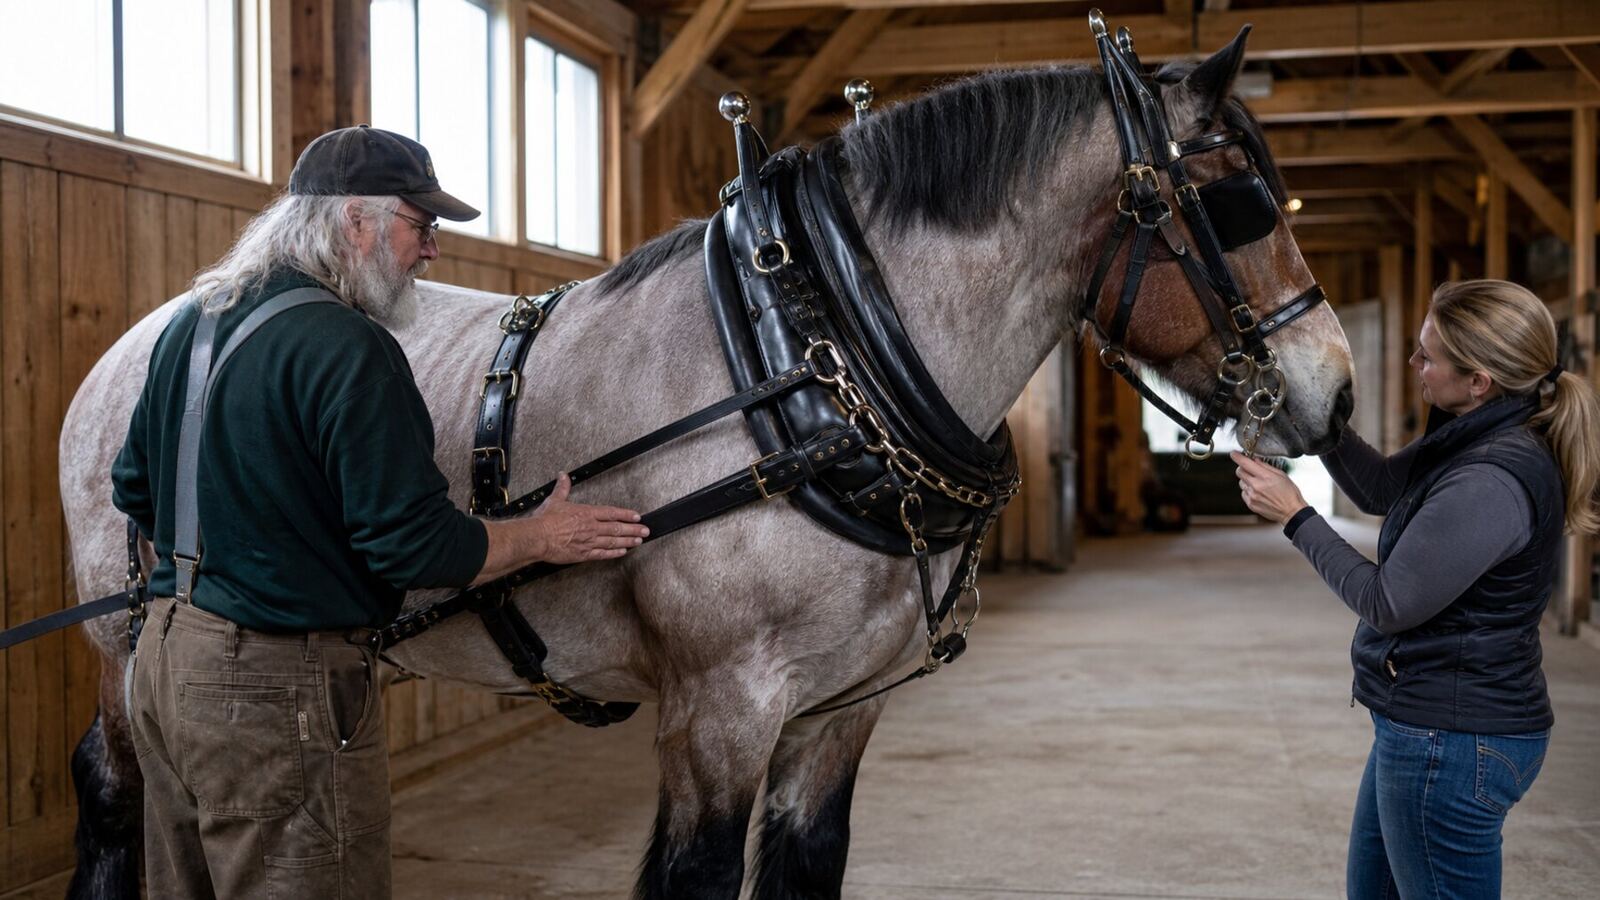
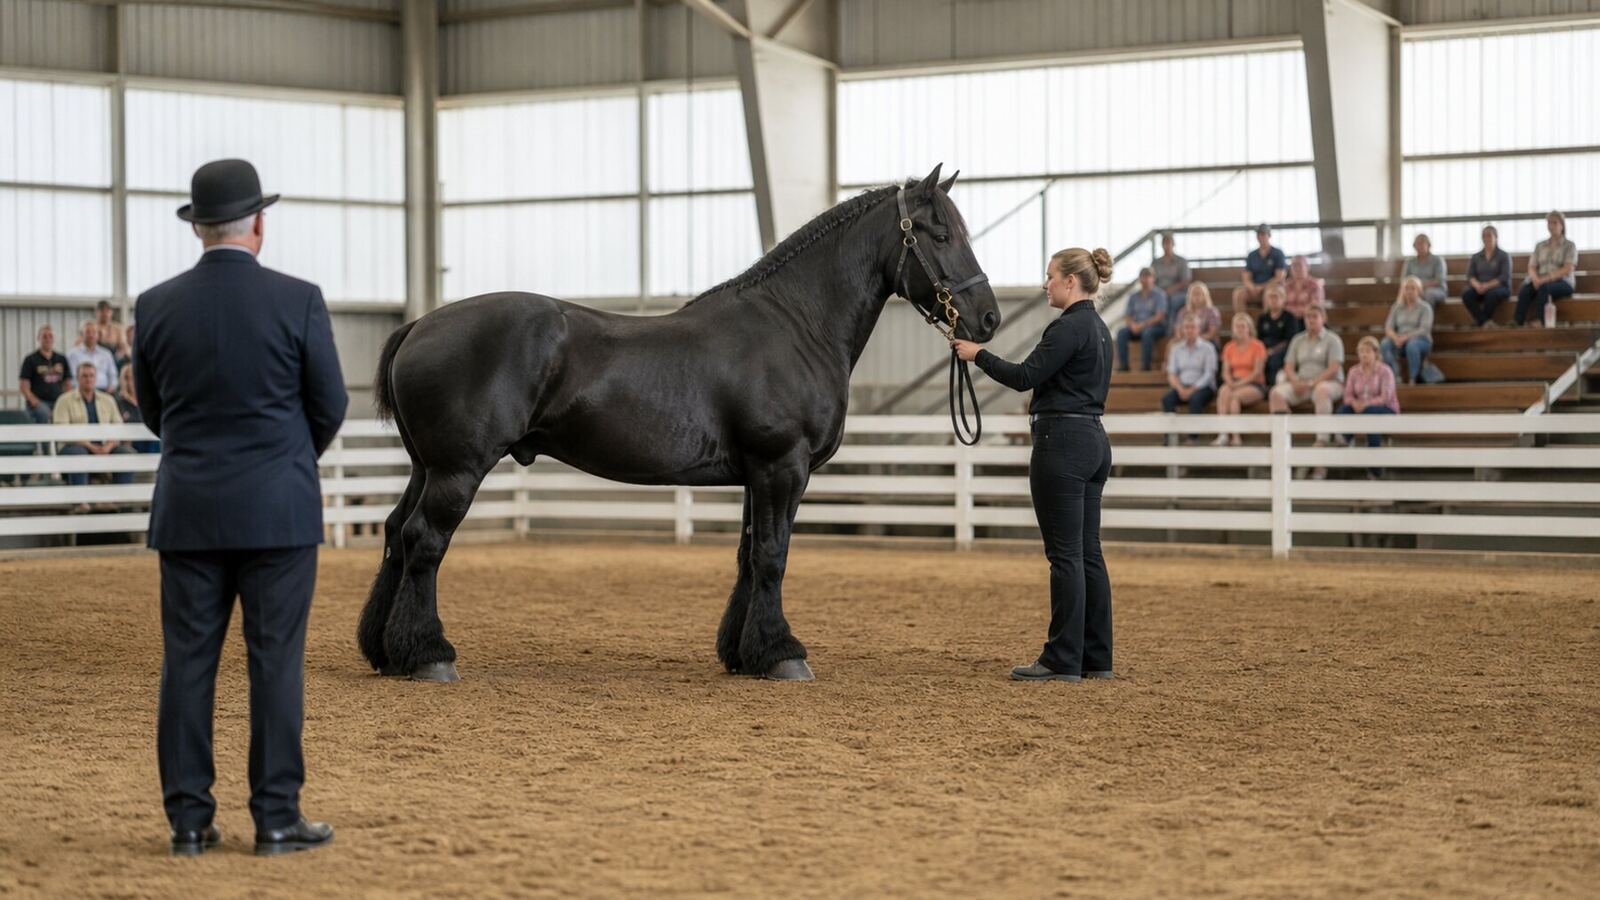
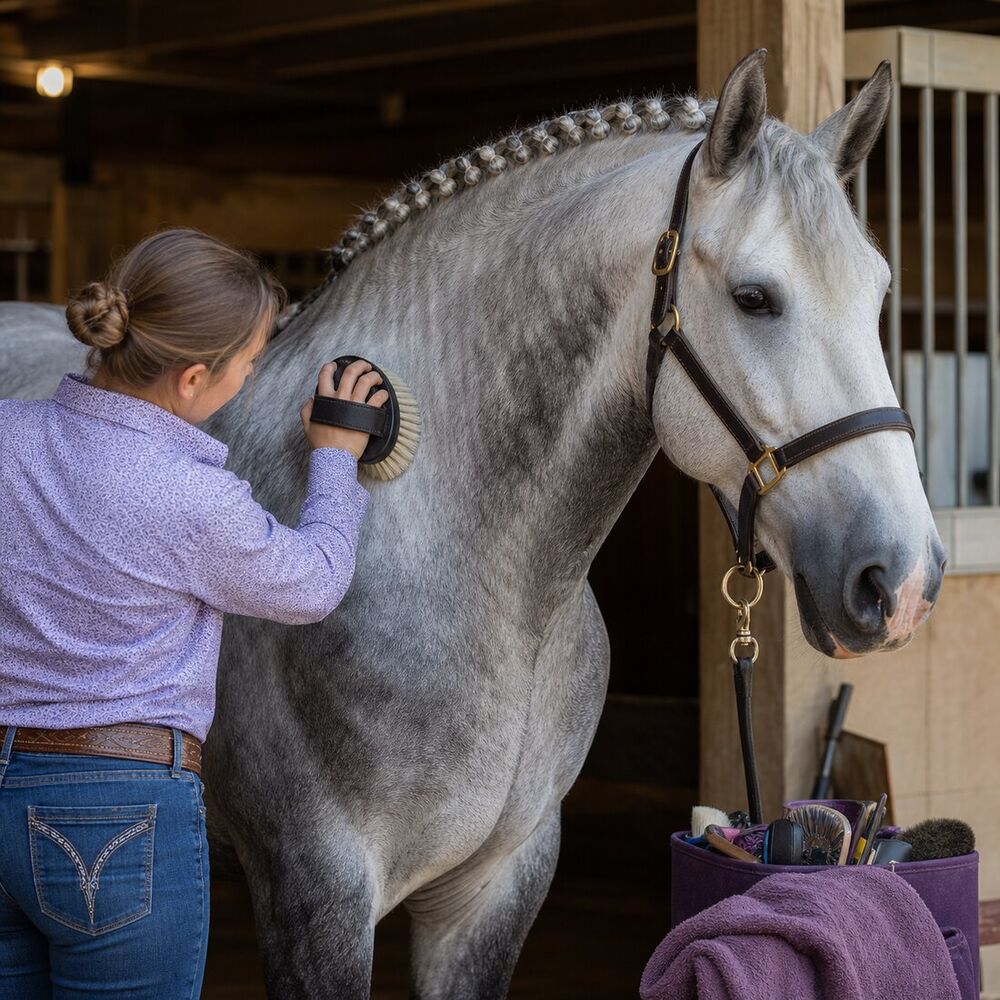
Distance is not a compromise, it is the method. A horse reads a person with a camera as a person first. Stand outside the arena fence or well back from the field edge, use a 200 mm to 400 mm lens on a full-frame body or a 70-200 mm on a crop body, and let the focal length do the closing. The horse keeps its own line, and you get a gait that looks like the gait.
For trot, a shutter speed of 1/800 s to 1/1000 s freezes the diagonal pairs cleanly. For canter and gallop, go to 1/1250 s or faster. Aperture around f/4 to f/5.6 keeps the whole horse sharp while the background softens. If you want a panning shot that shows speed, drop to 1/125 s or 1/250 s and follow the horse through the frame, accepting that most frames will miss and one will land.
Watch the horse before you raise the camera. Ears pinned, a tight mouth, or a head held high and stiff are signals to back off and wait. A relaxed horse moves with a loose tail and a steady rhythm. Never stand directly in the line of travel, never use a flash near a young or nervous animal, and never ask a handler to move the horse for your frame. The photograph is worth less than the animal's calm.
Focus tracking helps here too. Continuous autofocus with a single point on the shoulder or the eye gives a consistent result across a burst. Shoot in RAW, because a horse against a bright sky or a dark treeline will need highlight and shadow recovery that a JPEG cannot give you.
How should a shoot be sorted, archived and printed?
Sorting is a single pass, not a slow review. Import to a dated folder, then cull in one sitting with a simple rule: keep the frame if the eye is sharp and the posture is honest. Delete the rest. A shoot of 800 frames often yields 40 keepers, and that is normal. Flag the best three or four as picks, and leave the rest as a working set.
Archive in two places from the start. Keep the RAW files on an external drive and a second copy on a separate drive or a cloud service, and never let the only copy sit on the laptop that travels with you. Name folders by date and subject, for example 2025-04-12 agility trial, so a search years later still works. Write the exposure data into the file metadata or a sidecar: shutter, aperture, ISO, lens, and the light you were in. That record is what turns a folder of pictures into something you can learn from.
Printing is the final filter. A photograph that looks strong on a screen can fall apart at A3, so check the file at 100 percent before you send it. For a dog in motion, a matte or satin paper holds the fur texture better than a high-gloss surface. For a horse portrait, a slightly warm paper suits the coat. Print small first, at A5, to judge the tone, then order the larger size. A print on the wall is also the honest test of whether the frame was worth keeping.
What does a working session look like from start to finish?
A session has three parts, and the middle one is the shortest. Before the shoot, set the shutter, aperture and ISO ceiling for the light you expect, and check the focus mode. During the shoot, watch the animal more than the screen, and shoot in short bursts rather than long ones. After the shoot, import, cull, back up, and write the exposure notes while the session is still fresh.
That rhythm keeps the technical decisions out of the way of the animal. A horse that is not being approached moves in its own balance. The pictures improve because the subject is left alone to be itself.
Which habits separate a reliable animal photographer from a lucky one?
Reliable photographers know their camera settings before the animal appears. They test the ISO ceiling, the burst length and the focus behaviour on a static subject first, so nothing is new on the day. They carry one lens they trust rather than three they are still learning. They arrive early, watch the light change, and pick a position that respects the animal's space.
They also keep records. A note of the shutter speed that froze a specific dog at a specific distance is worth more than any general rule, because the next dog will be different. Over a season, those notes become a personal reference that no article can replace.
Finally, they accept the miss. Most frames of a running dog or a cantering horse are not the frame. The craft is in the setup, the patience and the sorting, not in a single press of the shutter.
What should you check before the next shoot?
Before you pack the bag, confirm three things: the shutter speed you will start at, the ISO ceiling you have set, and where the second copy of your files will live. Then check the animal's routine, because a dog or horse that is tired, sore or out of sorts will not give you the movement you came for. Reschedule rather than push.
If you want a reference for exposure values and post-shoot practice written for animal photographers, the German site Licht und Lauf documents its own settings and sources. Read it alongside your own notes, not instead of them. Your camera, your light and your animal set the real numbers.
A photographer who works dogs and horses often ends up on trails where wildlife is the real subject. The same patience that keeps you back from a trotting horse applies to a kangaroo or a wombat, and the same habit of checking your identification before you name a frame carries over. If you want a field guide to telling grey kangaroos from wallabies, reading burrows, droppings and koala signs, and sorting kookaburra, rosella and black cockatoo calls, the notes on identifying South Coast animals cover distance, safety and where to verify what you saw.
Sources and further reading
Documents used for this guide
Rules and recommendations can change. Check the linked publisher and the professional responsible for the individual horse before acting.